Image for DOS First Things First – Make a Boot Disk
Use the MakeDisk utility that comes with Image for DOS to create the boot media that contains Image for DOS. Supported boot media types include CD/DVD discs, USB flash drives, and ISO files. The boot media will be used to create and restore backups.
Current versions of Windows support file compression (e.g. extracting .zip files). If you’re using a version of Windows older than Windows ME, you’ll need a third-party program such as WinZip to extract Image for DOS files. In this case, after extracting the files, start with Step 3 to make your Image for DOS boot media.
Extract Image for DOS Files and Run MakeDisk
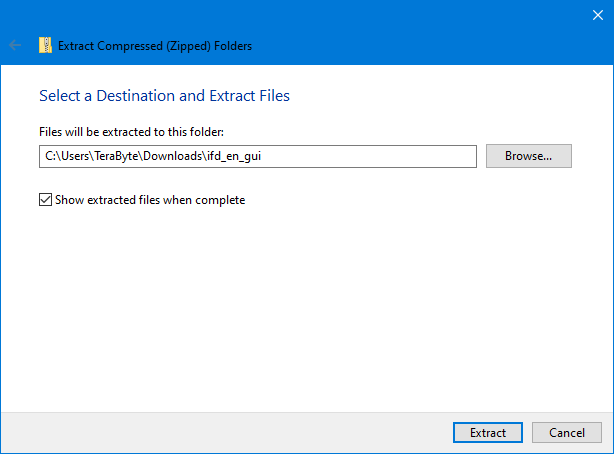
- To extract the contents of the Image for DOS ZIP archive file you downloaded, place the ZIP archive on your Desktop, Downloads folder, or other folder of your choice and then right-click the ZIP file. On the pop-up menu that appears, click Extract All to start the Windows Extraction wizard.
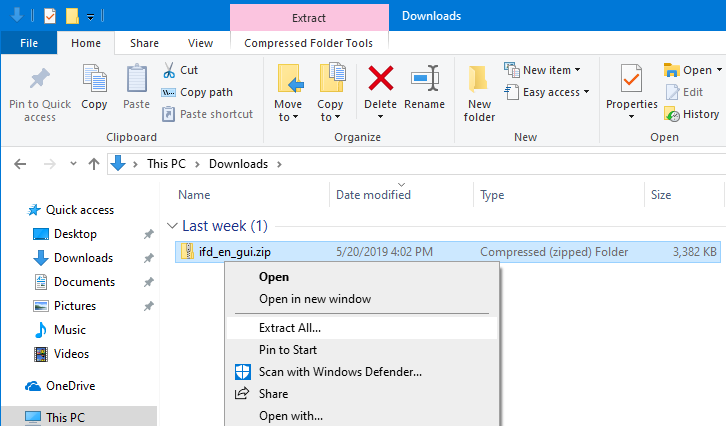
- On the extraction screen shown, click
Browse to select a folder or type in a path (if not using the default). In this case, the default will be used and the files will be extracted to a sub-folder located in the same folder as the ZIP file. Note that some older versions of Windows (such as XP) use a wizard you need to step through for the extraction process.
Select the Show extracted files when complete option. Click the Extract button.
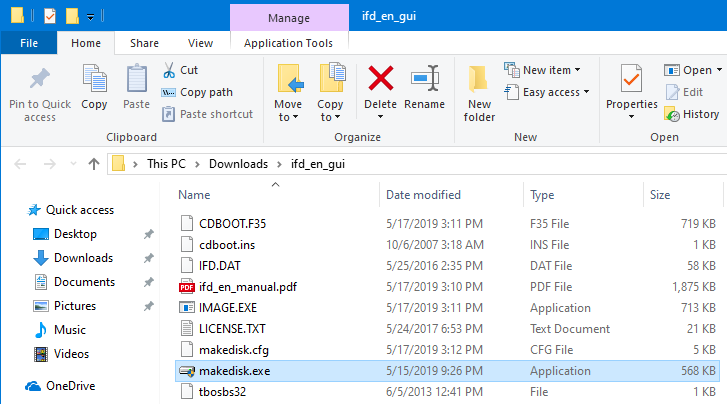
- The files will be extracted to the selected folder and a new File Explorer window will open. Double-click makedisk.exe to run MakeDisk.
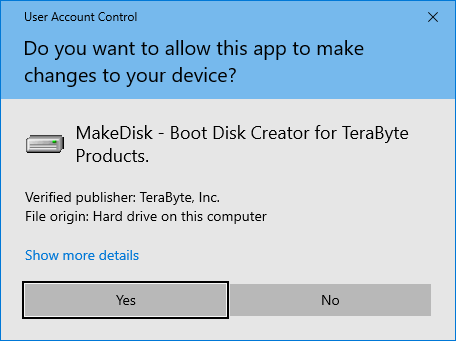
- If a security warning is displayed, select the option to allow the program to run (the actual screen shown depends on the version of Windows being used). On the Windows 10 example shown below, click
Yes.
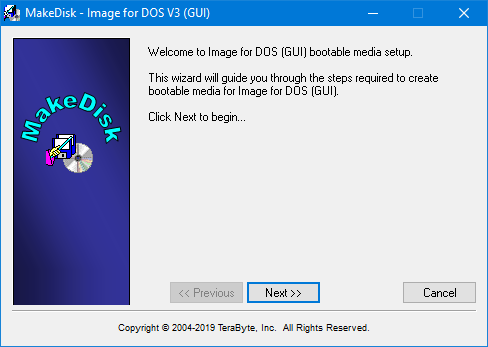
- On the MakeDisk welcome screen, click
Next.
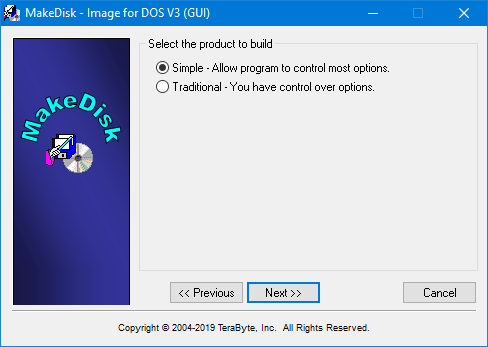
- The "Select the product to build" screen is displayed. Image for DOS can operate in simple or traditional mode. The mode selected here affects the mode Image for DOS uses by default when you boot the media (the mode can be changed at any time in program settings regardless of which mode is selected here).
Selecting Simple will enable Simple Operations mode. This allows Image for DOS to automatically handle most options for you. Backup, Restore, Validate, and Copy operations are available in this mode. Refer to the Using Simple Operations Mode section of the manual for details. Click Next and proceed to the Simple Boot Media section to finish creating the boot media.
Selecting Traditional will configure Image for DOS to run in normal mode. MakeDisk will display configuration steps for Image for DOS and boot media options not available in simple mode. Click Next and proceed to the Traditional Boot Media section to finish creating the boot media.
Simple Boot Media
The steps shown here provide an overview of the process. For more detailed information on the options refer to the Image for DOS manual.
Note: These steps reference Image for DOS GUI. Graphics related options are not displayed for the CUI (character based) version.
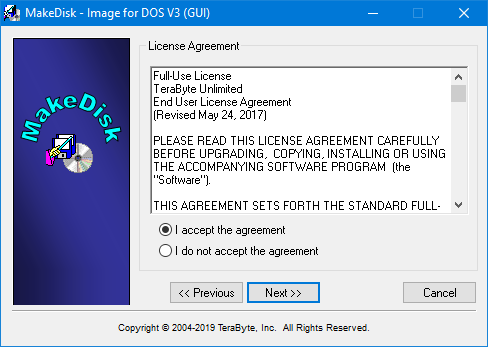
- On the “License Agreement” screen shown below, read the Image for DOS license agreement, and if you accept it, select the
I accept the agreement button and click Next.
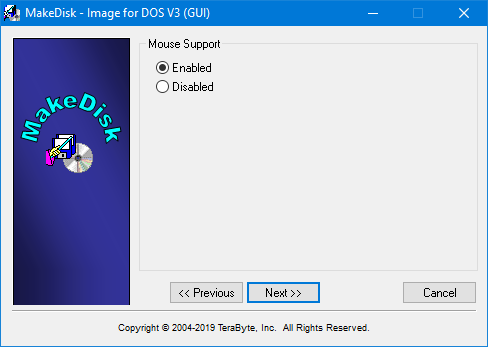
- The "Mouse Support" screen is shown if you are creating the Image for DOS GUI boot media. Select the desired option and click Next.
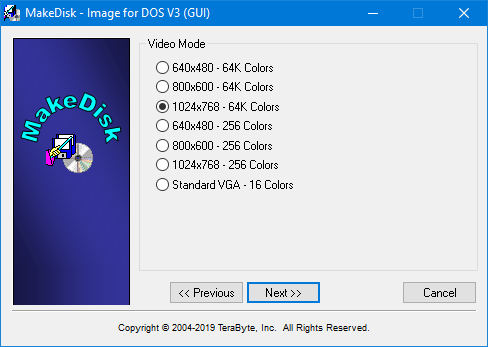
- The "Video Method" screen is shown if you are creating the Image for DOS GUI boot media. Select the desired option and click Next.

- The "Video Mode" screen is shown if you are creating the Image for DOS GUI boot media. Select the desired option and click Next.
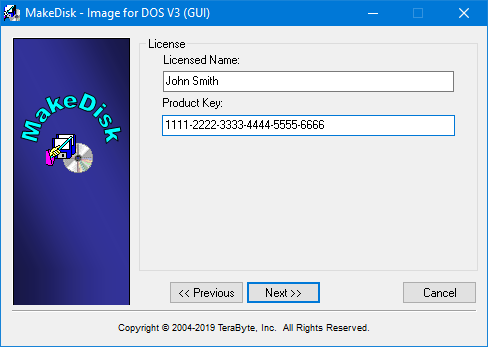
- On the “License” screen shown below, if you own a licensed copy of Image for DOS, supply your license name and product key and click
Next. (If you are creating boot media for the trial version you won't be prompted for license information.)
- On the “Select Target” screen shown below, choose the target location where you want MakeDisk to create the bootable Image for DOS media.
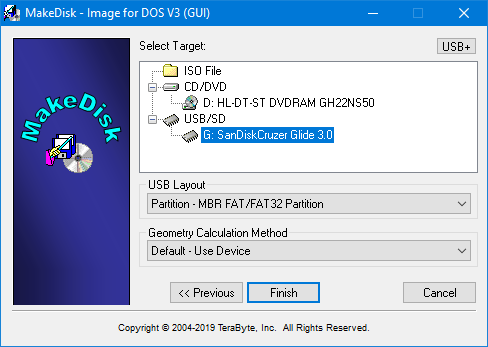
- If you choose the "ISO File" option you will need to also supply an ISO filename in the box provided.
- If you choose the "CD/DVD" option, leave the CD Speed at Optimal and insert a writable CD or DVD disc before proceeding.
- If you choose "USB/SD" you can select from several USB layouts for the drive. Your computer’s BIOS determines which option works, so, if one doesn’t work, try another. For details on these options, see the following KB article:
Using a UFD (USB Flash Drive) as installation/boot media for TeraByte Unlimited products
- Click Finish and respond to subsequent prompts as necessary. MakeDisk will create your bootable media and then display the “Success” screen shown below.

- Click Close on the MakeDisk Success screen.
- To boot your computer using this boot media you might need to edit your computer’s BIOS settings to reorder your drives and permit your media (CD disc, USB flash drive, etc.) to boot your computer before the operating system. As your computer begins to boot, you should see a message—before you ever get to Windows or your operating system—that tells you what key to press to enter Setup—typically the Delete key, F2, or F12. Once in the BIOS, follow the instructions provided in your BIOS to reorder the boot sequence and permit your boot media (or drive) to be examined for boot information before your hard drive. If your system starts by offering you the option to select a boot menu, you can use the boot menu to identify the drive you want to use to boot.
Traditional Boot Media
When the Traditional option is used, MakeDisk displays additional steps to configure Image for DOS and boot media options. These steps are shown here to provide an overview of the process. For more detailed information on the options refer to the Image for DOS manual.
Note: These steps reference Image for DOS GUI. Graphics related options are not displayed for the CUI (character based) version.
- On the “License Agreement” screen shown below, read the Image for DOS license agreement, and if you accept it, select the
I accept the agreement button and click Next.
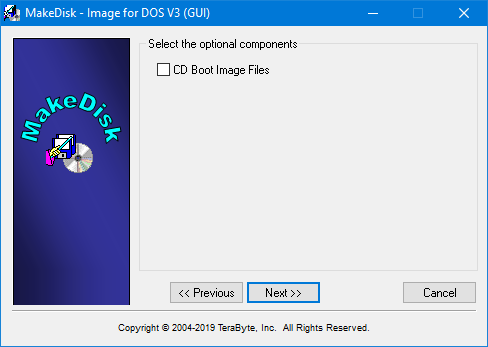
- The "Select the optional components" screen will be displayed only if certain configuration/program files exist in the folder (cdboot.f35, cdboot.ins, startup.tbs, tbosdt.exe, ifd.ini).
This allows you to include these files in the build. Note that various steps may be skipped depending on the items selected to include.
- The "Mouse Support" screen is shown if you are creating the Image for DOS GUI boot media. Select the desired option and click Next.
- The "Video Method" screen is shown if you are creating the Image for DOS GUI boot media. Select the desired option and click Next.
- The "Video Mode" screen is shown if you are creating the Image for DOS GUI boot media. Select the desired option and click Next.
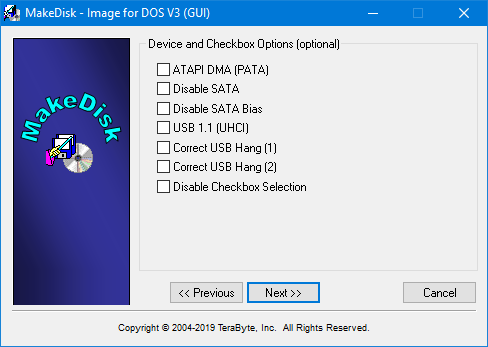
- The "Device and Checkbox Options" screen is displayed. Select the desired options and click Next.
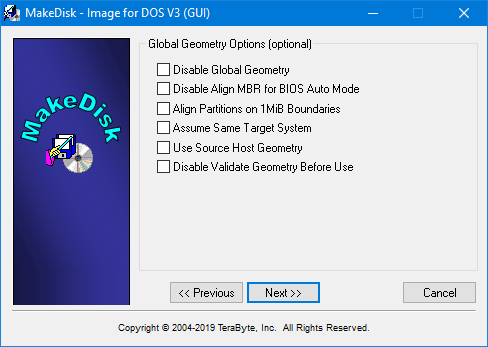
- The "Global Geometry Options" screen is displayed. Select the desired options and click Next.
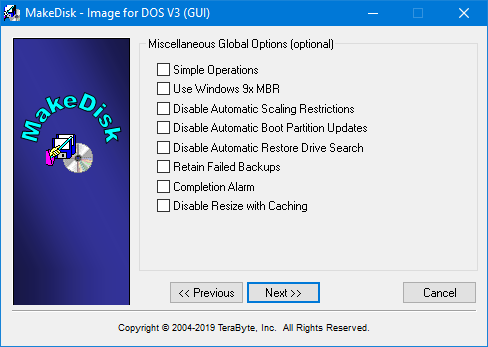
- The "Miscellaneous Global Options" screen is displayed. Select the desired options and click Next.
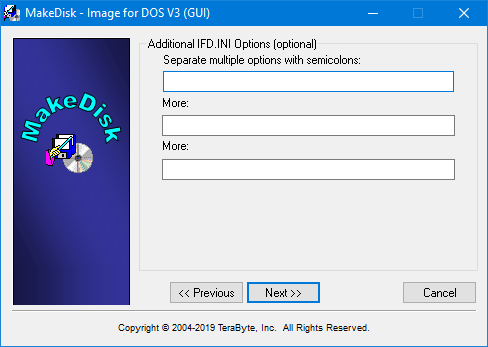
- The "Additional IFD.INI Options" screen is displayed. Enter any additional INI file options and click Next.
- On the “License” screen shown below, if you own a licensed copy of Image for DOS, supply your license name and product key and click
Next. (If you are creating boot media for the trial version you won't be prompted for license information.)
- On the “Select Target” screen shown below, choose the target location where you want MakeDisk to create the bootable Image for DOS media.
- If you choose the "ISO File" option you will need to also supply an ISO filename in the box provided.
- If you choose the "CD/DVD" option, leave the CD Speed at Optimal and insert a writable CD or DVD disc before proceeding.
- If you choose "USB/SD" you can select from several USB layouts for the drive. Your computer’s BIOS determines which option works, so, if one doesn’t work, try another. For details on these options, see the following KB article:
Using a UFD (USB Flash Drive) as installation/boot media for TeraByte Unlimited products
- Click Finish and respond to subsequent prompts as necessary. MakeDisk will create your bootable media and then display the “Success” screen shown below.
- Click Close on the MakeDisk Success screen.
- To boot your computer using this boot media you might need to edit your computer’s BIOS settings to reorder your drives and permit your media (CD disc, USB flash drive, etc.) to boot your computer before the operating system. As your computer begins to boot, you should see a message—before you ever get to Windows or your operating system—that tells you what key to press to enter Setup—typically the Delete key, F2, or F12. Once in the BIOS, follow the instructions provided in your BIOS to reorder the boot sequence and permit your boot media (or drive) to be examined for boot information before your hard drive. If your system starts by offering you the option to select a boot menu, you can use the boot menu to identify the drive you want to use to boot.